
How to Hang your Artwork
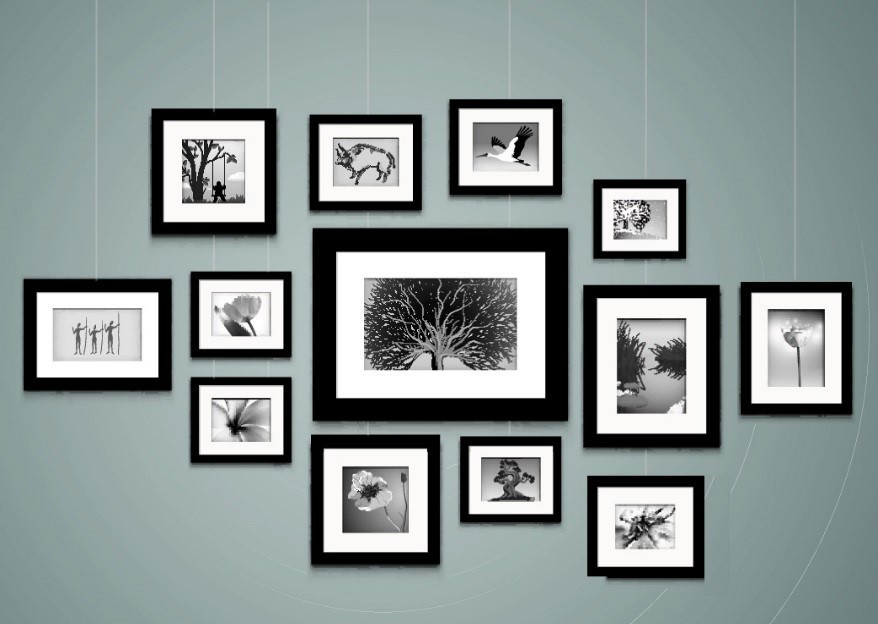
Firstly, lets understand something – we are not all basketball players or Neanderthals. We do not need to hang our Art just below the ceiling! We see the world in a Pyramid shape – wide at the bottom (the ground), and narrow at the top (the Sky) of our viewing field. I f we didn’t see like this, we would be constantly tripping over things!
My advice on what height to hang your art is to follow a simple rule. Hang your art with two thirds of the artwork below your eye level, and one third above. When hanging art above furniture, leave a gap of between 20 and 30 centimetres between the bottom of the frame, and the top surface of the Furniture item. If you hang above a couch allow sufficient space to prevent heads hitting the bottom of the frame. If above a server, leave enough space to fit an average Flower Vase, or Water Jug.
It is best to hang your Art using both the hooks on the back of your frame, in preference to hanging it using the string or wire. Doing this ensures that you hang the Art in the strongest manner, as well as keeping it straight for all time. String and wire make it difficult to measure and impossible to keep straight. By hanging on both hooks, you spread the weight, making your hanging more secure.
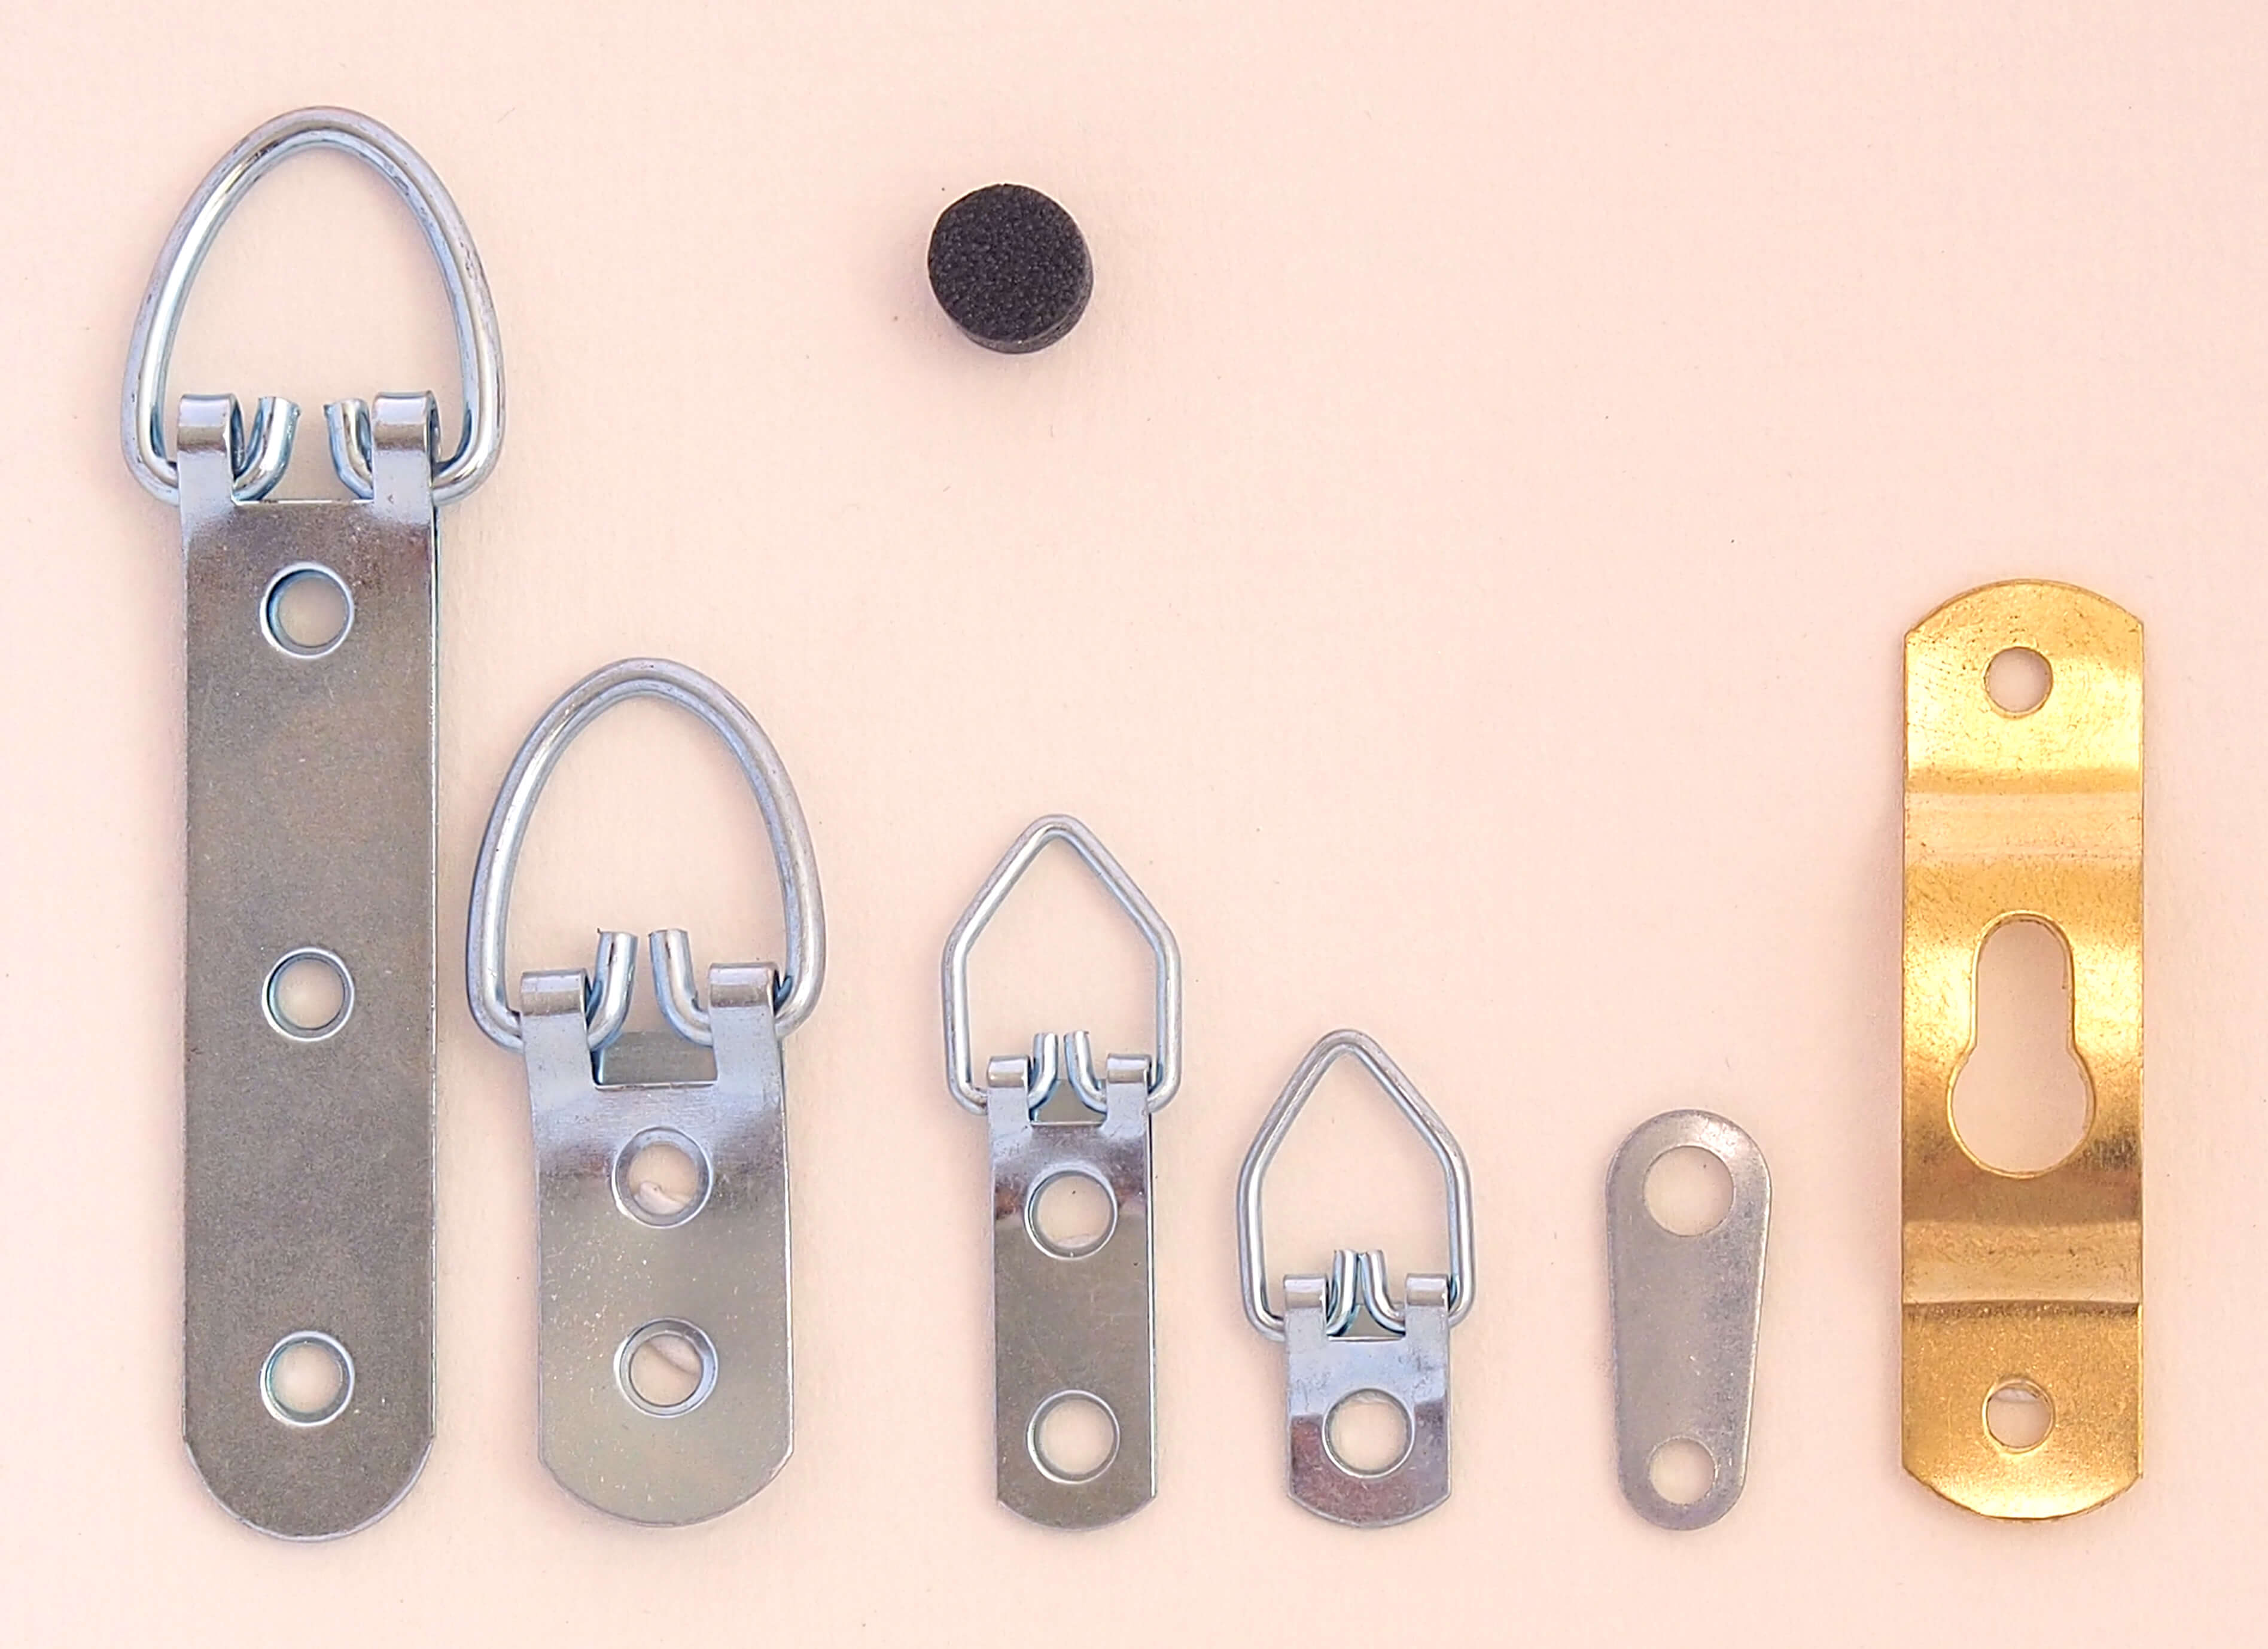
Examples of Picture Frame hangers
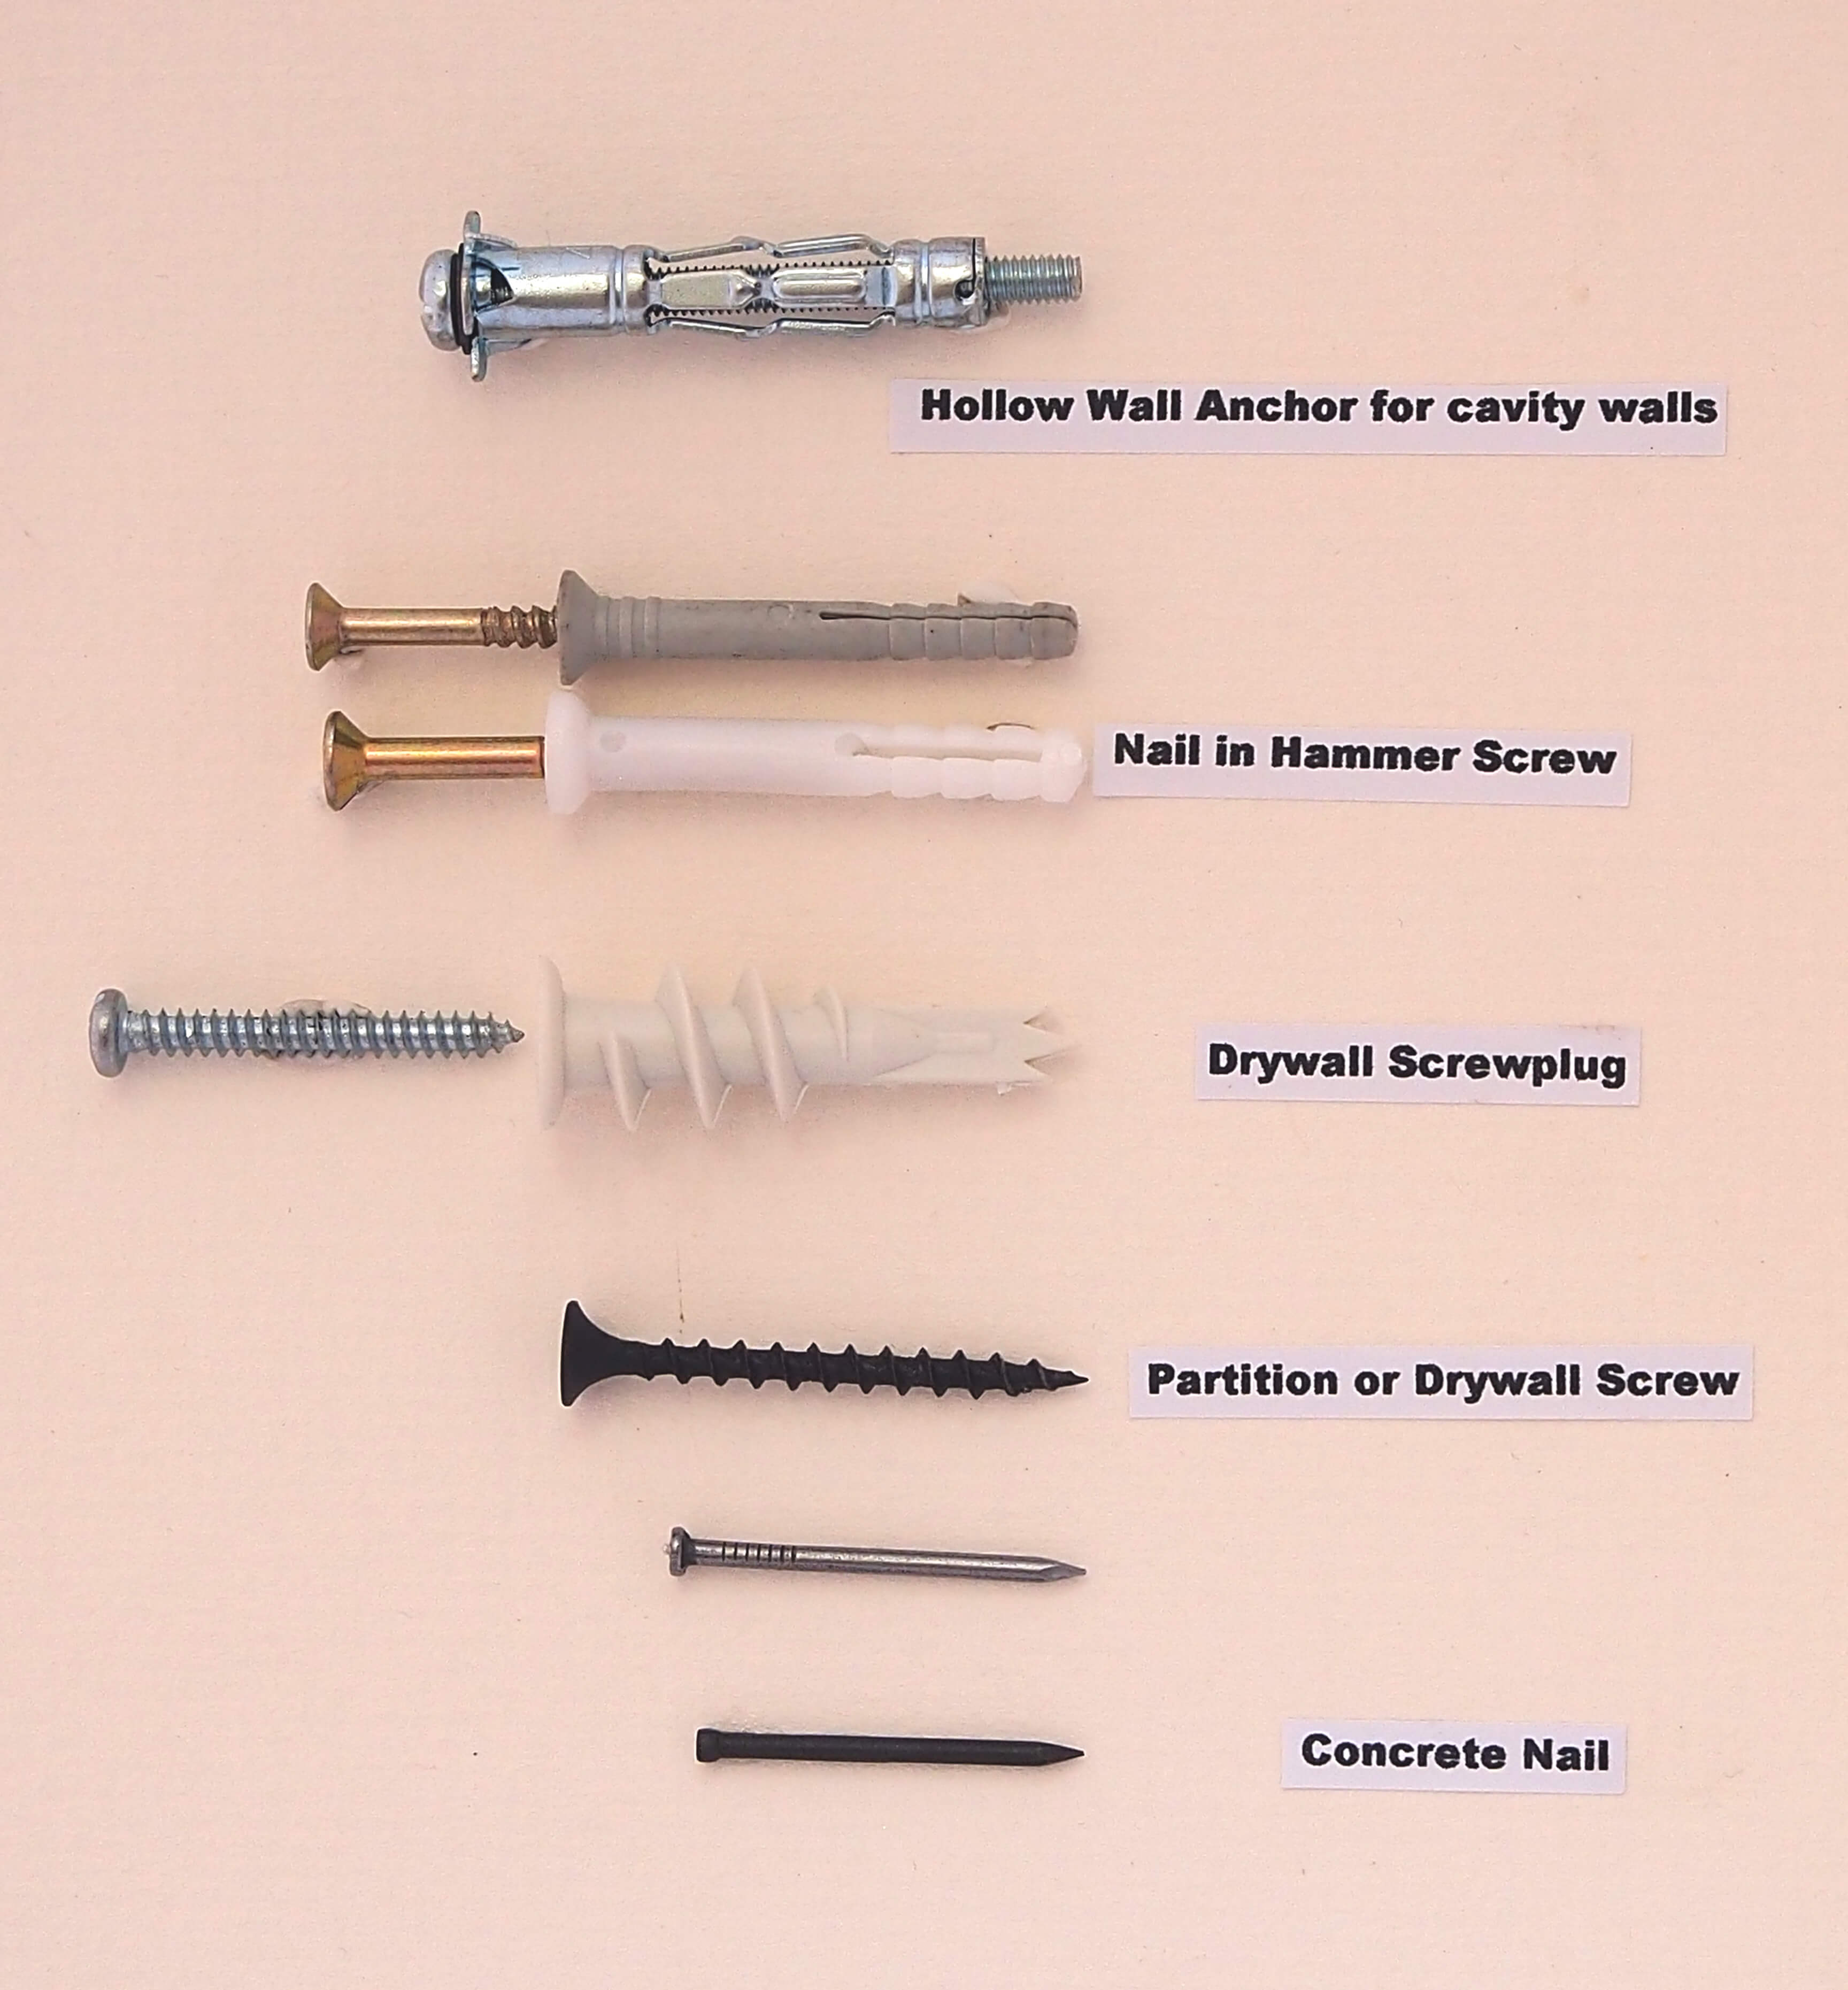
The correct tools are imperative when hanging your art- and the most important of these are your measuring tape, hammer, a pencil and a suitable spirit level. These are inexpensive and easily available at your local hardware store. For very hard walls with brick or concrete, you may need a drill. This should only be necessary for very heavy artworks or mirrors. The majority of Artworks can be safely installed on all walls using either wood nails for soft walls, and concrete nails for any harder walls.
Your fixings become important, and while I use primarily wood nails and concrete nails on most walls, I sometimes need stronger solutions depending on size and weight of the artworks I am installing. For Drywalls (Soft walls) I use a mix of either Drywall screws, Drywall Screw plugs or expanding Hollow Wall Anchors. On hard concrete walls I use nail in hammer screws which I drill into the wall.
The Hanging Process
Step 1
When you are comfortable with the height you want your Art to hang, measure from the ceiling to where the top of the Artwork will be. Normally between 60 to 80 centimetres depending on ceiling height.
Step 2
Turn the front of the Artwork away from you so you are looking at the back of the frame. Hopefully, your framer has installed the hanging hooks at the same distance from the top of the frame on both sides. Measure the distance from top of frame to hole in the hooks. Add this distance to the distance in step 1. The combined measurement will give you the height at which your Nails or fixings must go into the wall. Make a mark on the wall that will be the middle of the frame from side to side.
Step 3
Measure the distance between the hooks on the back of the frame. This will be the distance between your nails. Measure the middle of this measurement and place the middle mark on your measuring tape on the mark you have made on the wall. Mark each end of the distance on the wall. Take your spirit level and make a line on the marks you have made showing with the spirit showing level.
Step 4
Hammer in your nail on the marks on each side. (Or drill if in too hard) Lift your artwork up, fit it onto your fixings, and voila, there you have it – strong, secure and level!